


At a first birthday party, the slideshow is watched by grandparents holding cake plates, a couple of friends with their own babies on their hips, and you, standing at the back, trying not to cry into the balloons. It does not need to be long or clever. It needs to show a year clearly enough that someone who met the baby twice feels they were there for all of it.
These first birthday slideshow ideas start with the practical questions (how long, how many photos, which structure) and end with the part people forget: getting it to play on the TV without a scramble.
Decide the length before you pick a single photo
The biggest mistake is starting with the photos. You scroll through thousands, fall in love with 400 of them, and end up with a 20 minute video nobody finishes. Decide the length first, then pick photos to fit it.
For a party, three minutes is a good target. Guests stay with it, small children do not start climbing the furniture, and it matches the length of a typical song. From there it is simple maths:
| Length | Seconds per photo | Photos needed |
|---|---|---|
| 1 minute | 2 | 30 |
| 2 minutes | 2.5 | 48 |
| 3 minutes | 2.5 | 72 |
| 4 minutes | 3 | 80 |
Two to three seconds per photo is long enough to recognise a face and short enough to keep things moving. If you include a time-lapse clip, subtract its length before you count photos.
From 4,000 photos to about 72
A year with a baby easily produces several thousand photos. Picking 72 feels impossible until you break it into months.
- Make a new album just for the slideshow.
- Go month by month and add your six favourite photos from each month. Six times twelve is 72.
- Mix close and wide. For every close-up of a face, add a wider photo that shows a room, a park or a person holding the baby.
- Include people. The photos guests remember are the ones they are in.
- Keep one imperfect favourite each month. A blurry laugh often says more than a sharp pose.
- Remove near-duplicates. Three almost identical sleeping photos in a row feel like the video has frozen.
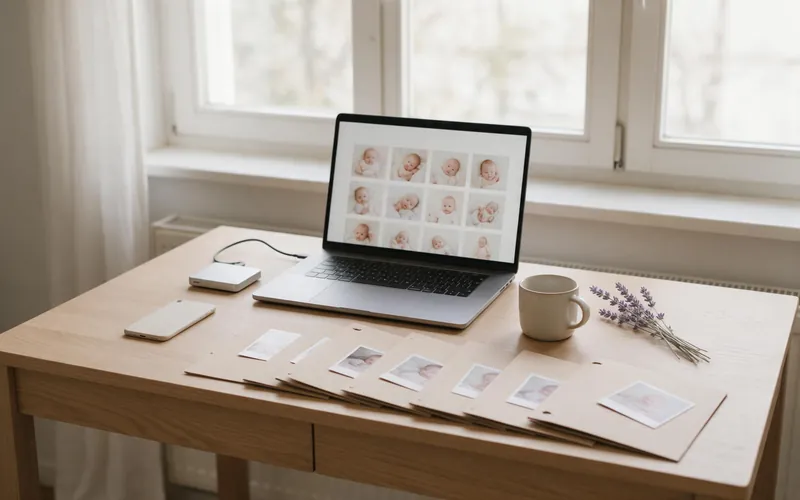
Use original files, not photos saved from messaging apps, which usually send smaller compressed copies that look soft on a TV. If your photos are scattered across phones and chats, our guide to organizing and backing up baby photos shows how to gather them into one place first.
Seven first birthday slideshow ideas
1. Twelve chapters, one per month
Start each month with a simple title card ("Month 5") and follow it with that month's photos. It is the easiest structure to build and the easiest to follow. If you took a monthly photo in the same spot, open each chapter with it. Our list of monthly milestone photo ideas has setups that work well as chapter openers.
2. The same spot, 52 times
If you photographed your baby weekly in one place, play those photos quickly one after another. The effect is a short film of your baby growing in seconds, and it tends to get the biggest reaction of the whole slideshow.
3. Backwards, from one year to newborn
Run the slideshow in reverse, starting with the birthday child today and ending on the first photo from the hospital or the first week at home. It is a surprisingly emotional ending, and it works especially well with a slow song.
4. The firsts
Arrange photos around first times rather than months: first bath, first smile, first trip to the sea, first taste of banana, first steps. Add a small caption for each.
5. The people who held them
A chapter for each important person: parents, grandparents, siblings, the aunt who visited every Sunday. Guests love finding themselves, and it is a thoughtful gift for grandparents who live far away.
6. Then and now pairs
Place a photo from early in the year next to a similar one from month twelve: the same sofa, the same teddy, the same arms. Four or five pairs are enough.
7. A day in the life at twelve months
End the slideshow with a morning to bedtime sequence from one ordinary day this month: breakfast, the park, bath, the last cuddle. In ten years this is often the part people value most, because ordinary days are the ones nobody photographs.
Add a time-lapse moment
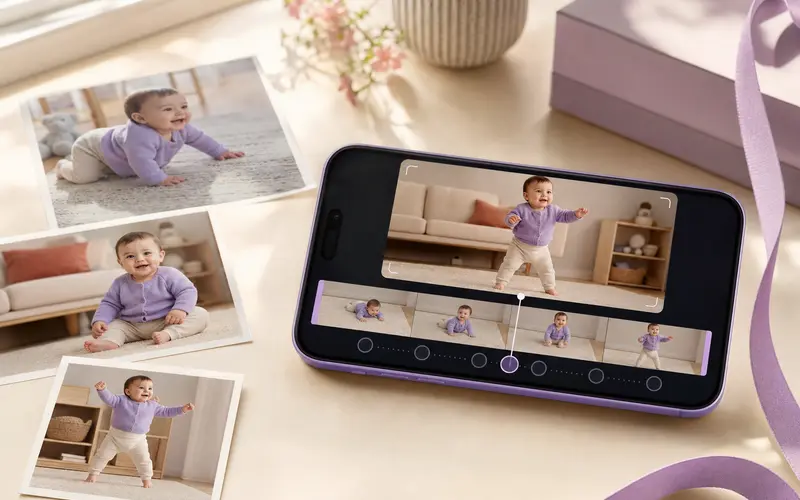
If you took regular same-angle photos, a 15 to 30 second time-lapse clip in the middle or at the end gives the slideshow a moment of pure change. As a rough guide, 52 weekly photos played at about eight photos per second make a clip of roughly six or seven seconds, while 365 daily photos at twelve photos per second last about half a minute.
In TinyLapse you can make this clip straight from your series in the time-lapse editor: choose the speed, play it forwards or in reverse, pick a ratio (16:9 suits a TV) and add a watermark with your child's name and the dates. Free exports are 360p with a small TinyLapse mark, which is fine on a phone but can look soft on a large TV; Premium removes the mark and allows exports up to 1080p. Our guide to the first year time-lapse video goes into speed and length in more detail.
Music, titles and a light touch of text
- One song, maybe two. A three minute song for a three minute slideshow keeps the edit simple.
- Pick something calm. Lullaby covers, acoustic tracks and instrumental versions of family favourites all work.
- Keep text small and short. A name, "Year one" and the dates at the start, month labels or tiny captions after that.
- Use the tools you already have. The Photos app on iPhone can turn an album into a movie with a soundtrack, and iMovie gives you more control over order, titles and the time-lapse clip.
- Think about an opening card. A single illustrated keepsake image with a birthday theme makes a warm first frame. Our AI keepsake card ideas include a few birthday options.
If you plan to post the finished video publicly, bear in mind that social platforms may mute or remove videos that use copyrighted music.
Showing it at the party
Most slideshow disasters are technical, not creative. A short checklist:
- Download the finished video onto the device you will play it from. Do not rely on streaming it from the cloud on party day.
- Test the TV the day before. Try AirPlay or a cable adapter, and check the sound comes from the TV, not the phone.
- Bring a backup. A copy on a USB stick works on many TVs if the wireless connection fails.
- Turn on Do Not Disturb so a message preview does not pop up over the photos.
- Choose the moment. Just before the cake is usually best, while guests are gathered and before the birthday child is overtired.
- Dim the lights a little, and put chairs where grandparents can see.
After the party: keep it and share it kindly
Save the finished video in at least two places, for example your photo library and a computer or an external drive. It is the kind of file that feels replaceable on the day and precious in five years.
When you share it, think about who really needs to see it. A private family album or a direct message to grandparents keeps a year of your child's life in the circle it was made for. Our guide to sharing kids' photos online has some simple rules of thumb.
And if the slideshow made you wish you had more same-angle photos from the first year, the second year is a fresh start. TinyLapse on the App Store keeps a photo series in date order with your child's age on each photo, ready for next year's party.