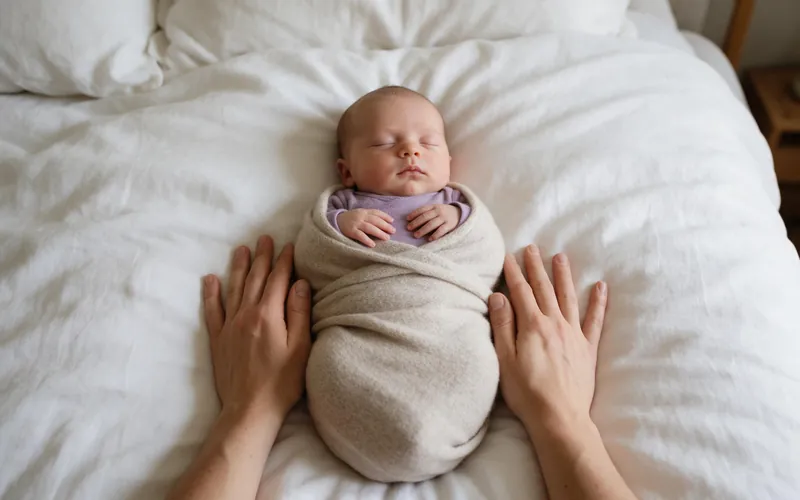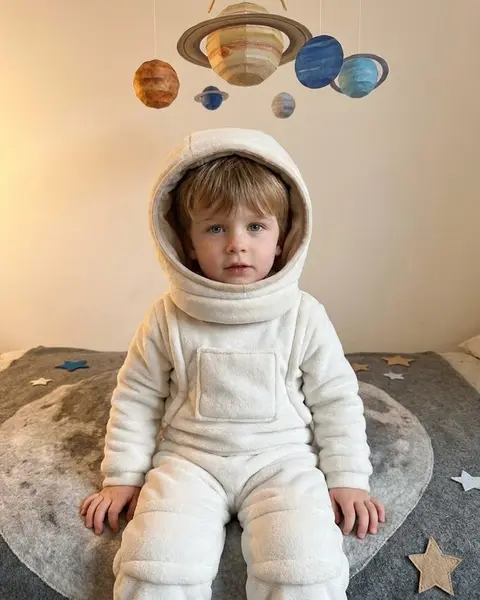
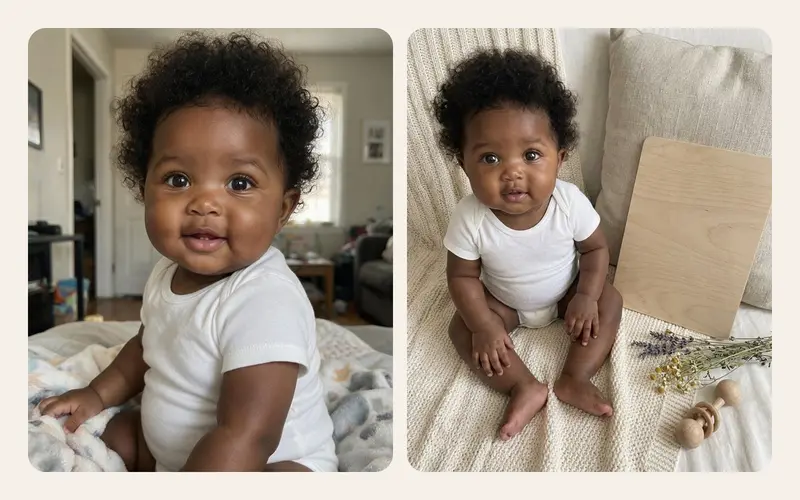

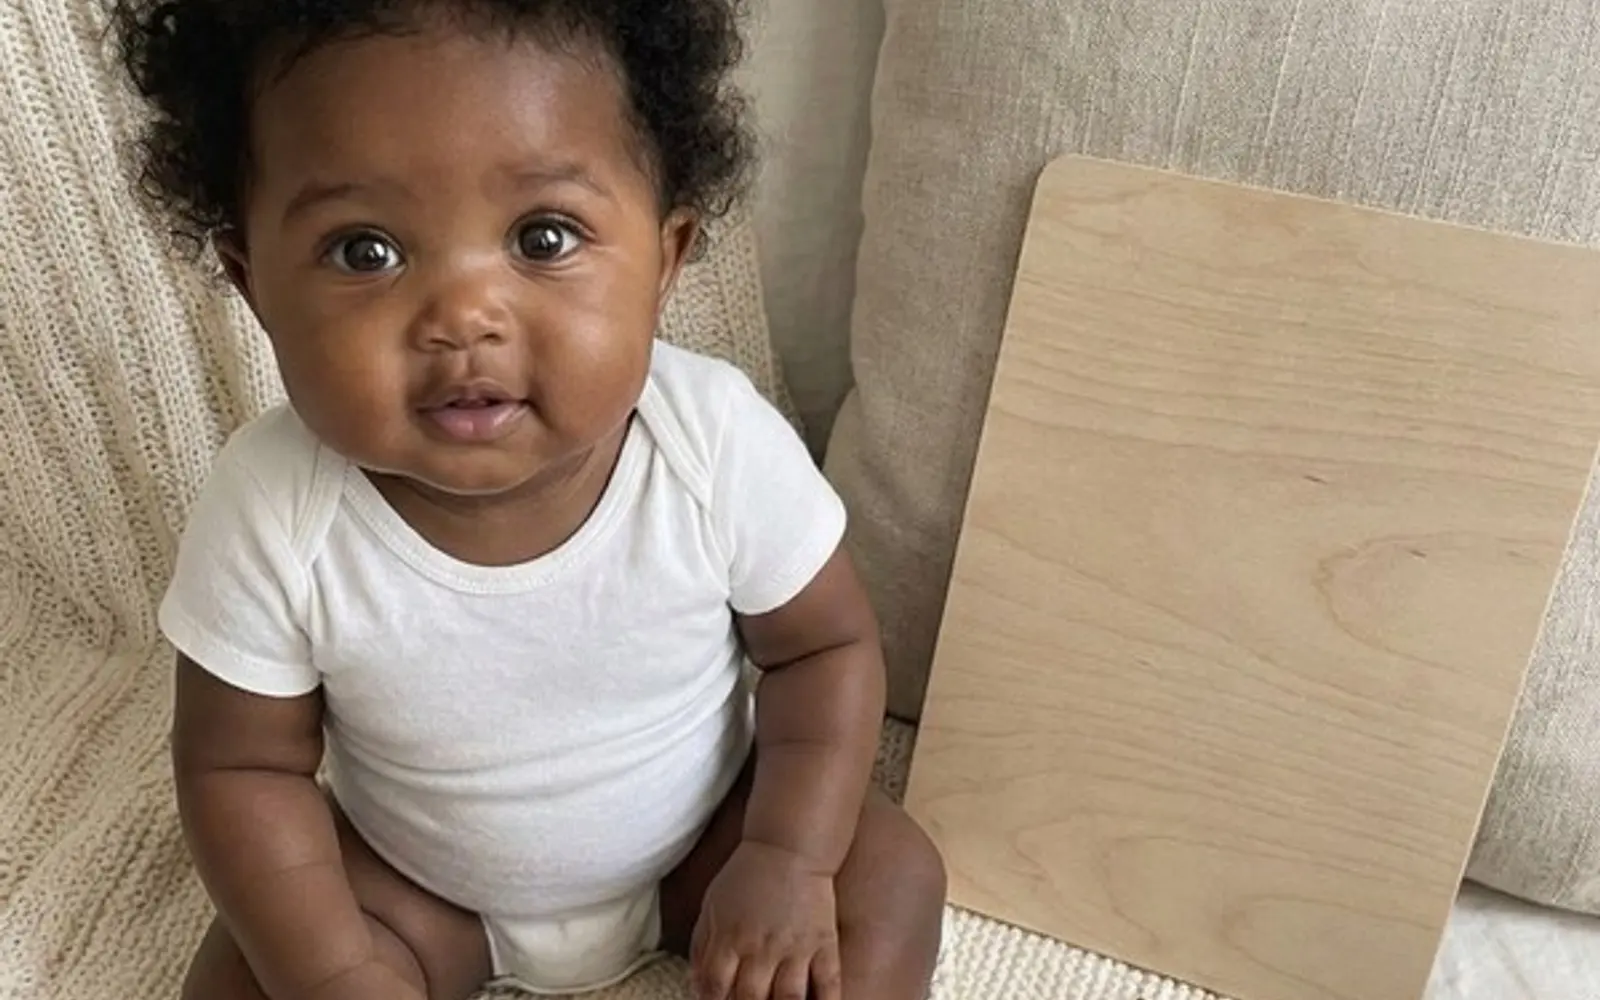
A monthly photo is the gentlest kind of photo project. Twelve pictures a year, each taken on or around the same date, in the same place. It asks for about ten minutes a month, and at the end of the year you have something that surprises everyone who sees it: how much a person changes between a curled up newborn and a one year old who wants to grab the board.
Here is how to set it up once and keep it easy, with ideas for every month and a few ways to use the photos afterwards.
Set up one spot you can repeat
The secret of a good monthly series is not the props. It is consistency: the same background, similar light, the same distance. When those stay steady, the only thing that changes from photo to photo is your baby, and that is the whole point.
Choose four things and write them down:
- A background. A cream or white knitted blanket, a plain duvet cover or a large muslin. Avoid anything that might fade in the wash or go missing by month six. If you can, keep one blanket just for the photos.
- A place. A spot on the floor near a window, with room for you to kneel beside it. The floor is the safest option once babies start rolling, so starting there saves you moving later.
- A time. Mid morning window light is kind to skin and easy to repeat. In winter the good light disappears earlier, so adjust.
- A distance. Mark where you kneel (a strip of washi tape under the edge of the rug works) and use the same lens every month. If your phone has a 2x lens, it gives a natural look from about a metre. For light and lens basics, see how to take baby photos with iPhone.
Take the first photo, then check it on the screen. Is the whole blanket in view? Is there room above the head? A newborn fills a third of a frame that a one year old will overflow, so leave generous space in the early months.
What to put in the frame, and what to leave out
Most monthly series include something that shows the age. From simplest to most involved:
- A wooden board or card with the month written on it. A blank wooden board and a chalk pen looks calm and stays consistent all year.
- A soft toy as a size reference. The same teddy placed beside the baby every month shows growth beautifully, and by month ten the baby will probably want to hug it.
- Seasonal touches. A few dried flowers, an autumn leaf, a knitted hat in winter, placed at the edge of the frame.
- Nothing at all. The age can be added to the photo afterwards, and the picture stays clean.
Safety comes first with props. Keep anything small enough to fit in a mouth (letter board letters, pompoms, buttons, dried petals that crumble) well out of reach, and remove it the moment the baby starts grabbing. No strings, ribbons or cords near the neck, and nothing on or near the face. Stickers on clothing only work while the baby is not pulling them off and mouthing them.
A month by month plan for the first year
Babies develop at their own pace, and the ranges are wide. The ideas below follow what many babies are doing around each month, but yours may be earlier, later or busy with something else entirely. That is normal, and the photo is about your baby, not a chart. If you have any questions about development, talk to your paediatrician. Our guide to baby milestones month by month explains the typical ranges in more detail.
| Month | Setup idea | Tip |
|---|---|---|
| 1 | Baby on their back on the blanket, board beside the shoulder | Shoot from the side, not straight over the face |
| 2 | Same pose, one hand near the board | Talk from just above the phone to catch their gaze |
| 3 | On their back with the size reference teddy | Smiles often start around here, so be ready |
| 4 | A close up of hands and feet on the blanket | Tummy time photos only while awake and watched |
| 5 | On their back, reaching toward the board | Expect movement; burst mode helps |
| 6 | Sitting with a parent's hands supporting from behind | Crop the hands out later, or leave them in |
| 7 | Supported sitting, holding a wooden spoon | Everything goes in the mouth now, so clear small props |
| 8 | Teddy shot again, placed in the same spot | Place the teddy first, then the baby |
| 9 | Lying, sitting or crawling, whatever they choose | Let them move and take what comes |
| 10 | A seasonal touch at the edge of the frame | Keep flowers and leaves out of reach |
| 11 | Standing holding the sofa edge, parent close by | Only if they already pull up on their own |
| 12 | Same blanket, a small cake or a paper crown | Take one frame from the month 1 angle too |
Posing safely at every age
Until your baby can sit on their own, photograph them lying on their back or in your arms. Do not prop a young baby upright with cushions and step away, not even for a second, and never balance them in baskets, bowls or on the edge of furniture. If a pose needs a hidden hand, it needs a real hand and a second adult. When they start rolling, keep everything on the floor. When they start pulling up, stay within arm's reach. A simple pose repeated safely every month beats an elaborate one done once. For the newborn weeks in particular, see our list of safe newborn poses at home.
Ideas beyond the blanket
Twelve matching blanket photos are lovely on their own. A few extra frames each month make the series richer without breaking it:
- The hand shot. Their hand resting on yours, every month. By the end you can see the fingers stretch across the same palm.
- The same lap. One photo on the same person's lap, in the same armchair. Grandparents love being part of this.
- The shirt that grows. One of your old T shirts laid around them each month, huge at first and almost filled by the end.
- The favourite thing. Whatever they love that month: a crinkly book, a wooden spoon, the family cat at a sensible distance.
- The view outside. A photo from the same window on the same day, so the year turns behind the baby.
Always take the main photo first. If the baby gets tired after that, the extras can wait until next month.
Making the monthly photo easier to take
A few habits make the whole thing lighter:
- Put it in the calendar. A repeating event on the date, or an alert the evening before, is enough.
- Allow a window, not a date. Anywhere within a few days of the monthly birthday works. Nobody will ever tell the 17th from the 14th.
- Pick a good moment. Fed, changed, rested. If they are not in the mood, try again tomorrow.
- Set up before you fetch the baby. Blanket down, board written, phone on the right lens. Then bring the baby in.
- Line up with last month. Open last month's photo on another device, or use an app that overlays it on the camera.
That last step is what TinyLapse was built for. The iPhone app shows your previous photo faintly on the camera so the new one lines up, keeps everything in date order with the baby's age on each picture, and its Guide tab has cards for the first three years (weekly for the first 12 weeks, then monthly up to 36 months), each with a photo idea. It is on the App Store.
Turning twelve photos into something
When the first birthday comes, the photos want to go somewhere:
- A grid print. Twelve squares in a 3 by 4 layout. The consistent blanket makes the grid look designed rather than collected.
- A birthday string. Print them small and peg them along a string at the party, hung above the baby's reach.
- A short video. Played in order, even twelve frames feel like a tiny film. With weekly or daily photos it becomes a proper first year time-lapse video.
- A themed card. Some parents turn a favourite monthly photo into a themed keepsake image. Our list of AI keepsake card ideas includes a Monthly milestone card with a knitted blanket, dried flowers and a blank wooden board.
When a month slips
It will happen. A cold, a long visit to family, a week where nobody slept. Take the photo when you can, or skip that month and carry on with the next one. A series of eleven photos still tells the whole story, and nobody looking at it in fifteen years will be counting.
Small moments pass quickly, their story stays. Ten minutes a month is plenty to hold on to it.