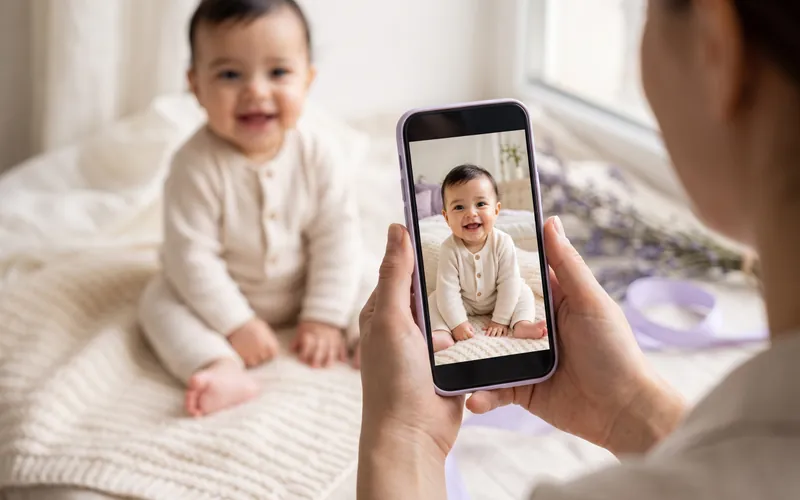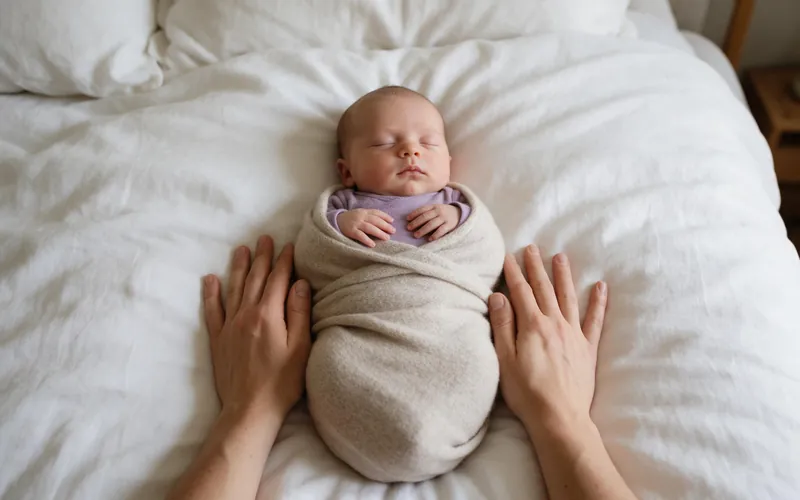
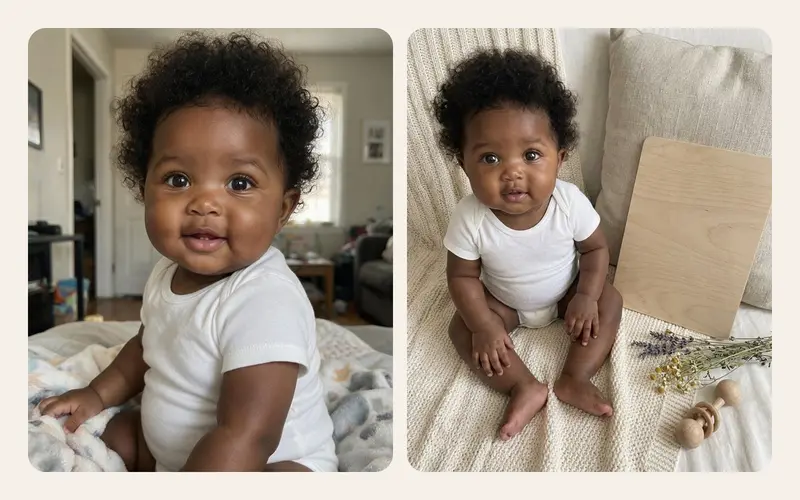


A single baby photo shows a moment. A photo from the same spot every day shows something a single photo cannot: change. Cheeks fill out, hair arrives, a baby who lay flat in week one is sitting up at seven months and pulling up on the armchair at eleven. Seen one after another, those tiny differences turn into a story you can watch in under a minute.
The secret is not a better camera. It is sameness: the same spot, the same light, the same distance, the same angle. This guide shows how to set that up in one afternoon and keep it going with about a minute a day, without turning it into a chore.
Daily, weekly or your own rhythm?
"Every day" sounds like a lot, so start with an honest look at what each rhythm gives you.
| Rhythm | Photos in a year | What you get |
|---|---|---|
| Every day | about 365 | The smoothest time-lapse; tiny changes are visible |
| Every 2 or 3 days | 120 to 180 | Still smooth, and much easier to keep up |
| Once a week | 52 | A clear growth story; each frame shows visible change |
| Once a month | 12 | A lovely milestone set, but too few frames for a flowing video |
Daily photos give the smoothest result, and many parents find a daily habit easier to remember than a weekly one, because it hooks onto something that already happens every day, like the morning nappy change. But a rhythm you enjoy beats a rhythm you resent. If you miss days, the series still works. A video from 300 photos in a year looks almost identical to one from 365.
If you prefer bigger steps, our monthly milestone photo ideas work well alongside a daily series or instead of it.
Choose three fixed things: spot, light and distance
The spot
Pick a place you pass every day that will not change much for a year or two: a plain wall, the end of the sofa, a corner of the nursery, a play mat that stays put. Avoid spots next to furniture you plan to move, and busy backgrounds like bookshelves or fridge doors covered in drawings. They shift from week to week, and in a video that shift reads as flicker.
The light
Choose the hour you are most reliably at home and in that room. For many families that is after breakfast, somewhere between 8 and 10am. Soft daylight from a window beside the baby is ideal. What matters most is that it is similar each time. A photo in morning daylight followed by one under a ceiling lamp at 9pm will jump in colour. If evenings are your only option, that is fine: use the same lamp every time and keep it on the same side.
The distance
Decide how far the phone sits from your baby and mark it. A small strip of tape on the floor, the edge of a rug, or "elbows resting on the cot rail" all make good markers. Around 50 to 80cm works for a newborn lying down. You will step back as your child grows, and that is expected.
How to keep the angle the same
The angle is where most series drift. Three details make the difference:
- Phone height and tilt. For a baby lying down, hold the phone directly above and parallel to the floor. For a sitting child, hold it at their eye level. A phone tilted a little more one day and a little less the next makes faces stretch and shrink.
- Framing rule. Pick one and keep it: eyes on the upper third line, head filling about a third of the frame, a hand's width of space above the head. Turn on the camera grid (Settings, Camera, Grid) so those lines are there every time.
- Orientation. Choose portrait or landscape on day one. Portrait suits phone screens and stories; landscape suits a TV at a birthday party. You can crop later, but only if you left room around the edges.
The hardest part is remembering exactly how yesterday's photo looked. That is what a ghost overlay solves: the previous photo appears faintly on top of the live camera, and you move until the eyes and outline match. The ghost overlay in TinyLapse does exactly that, and it is the main reason people use a photo a day app instead of the standard camera.
A 60 second daily routine
- Put your baby in the spot, lying down, or sitting with support once they are ready for it.
- Open the camera and line up with the overlay or the grid.
- Wait for a calm face. Talk, sing, or hold a small toy just above the lens so the eyes look toward the camera.
- Take three or four shots, keep the best one, delete the rest.
- Done. It takes less time than the kettle.
Outfits do not need to match. Different clothes add colour and quietly date the photos. If you want a calmer video, keep a few plain bodysuits for most days and save patterns for birthdays and holidays.
When the baby does not cooperate
Some days your baby will cry, roll off the mat, grab the phone or refuse to look up. That is part of the record too.
- Take the photo anyway, then try again later. A cross face from a teething week is honest, and a calmer one after the nap can replace it if you prefer.
- Bring a helper. One person holds the phone, the other makes faces just above it.
- Move the time, not the spot. If mornings are chaos, shooting after the bath keeps everything else the same.
- Skip a day without drama. A gap of a few days disappears in the final video.
A camera is never a reason to push a tired or unwell child. If you notice changes in feeding, sleep or mood that worry you, talk to your paediatrician; the photo can wait.
How the series changes as your child grows
A baby does not stay in one position for three years, so plan for a few adjustments.
| Age (rough range) | Typical position | Camera |
|---|---|---|
| 0 to 3 months | Lying on the back | Directly above, same distance |
| 4 to 7 months | Supported sitting, then sitting | Eye level, step back a little |
| 8 to 12 months | Sitting, crawling, pulling up | Eye level, wider frame |
| 1 to 3 years | Standing | The child's eye level, a new floor mark |
Every child reaches these stages at their own pace, and the ages above are loose ranges, not targets. For the development side, see baby milestones month by month, and talk to your paediatrician if you have questions about your child's development.
When you change position, keep one thing constant, like the wall behind or the size of the head in the frame. Then the switch looks deliberate in the video rather than accidental.
Photo a day app or the camera roll?
You can run a daily series with the standard camera. It works, but three things tend to go wrong. The photos get lost among thousands of screenshots and receipts. The angle drifts because there is nothing to line up against. And when you finally want a video, you have to find and sort a year of photos by hand.
A dedicated photo a day app keeps the series in its own album. Things worth looking for:
- An overlay of the previous photo while you shoot.
- Photos kept in date order, with your child's age shown on each one.
- Gentle reminders at a time you choose, daily or every few days.
- Separate albums if you have more than one child, or want to follow a bump, a pet or a plant.
- A clear answer to where the photos are stored and who can see them.
TinyLapse, for example, keeps albums on your device and in your own iCloud, so the photos stay private, and its Guide tab has short cards on light, same angle and distance. A daily series can even start before birth, as in our guide to bump photos week by week.
What to do with a year of photos
After a few months you have something most family albums do not: a steady visual record. The natural next step is a first year time-lapse video, played at the first birthday or sent to grandparents. Some parents also print one photo per month in a row on a long frame, or pick the first and last photo of each season.
Whatever you make, keep the originals safe in more than one place. And if you would like the overlay, reminders and video in one app, TinyLapse is on the App Store.
Small moments pass quickly. Their story stays.