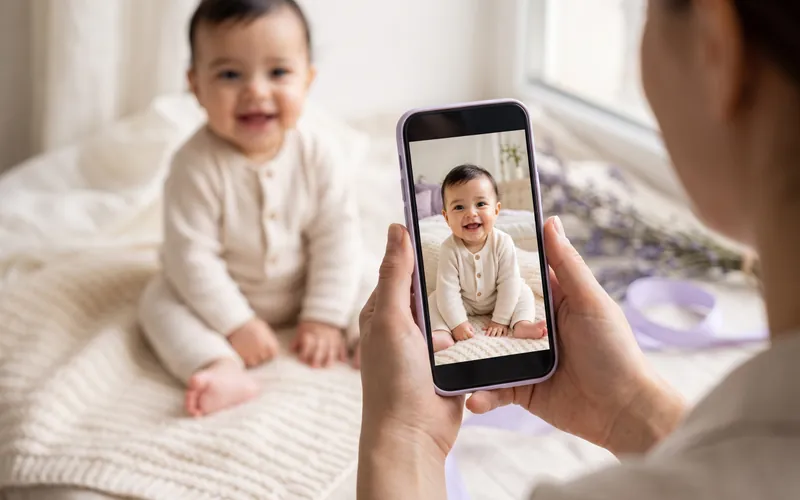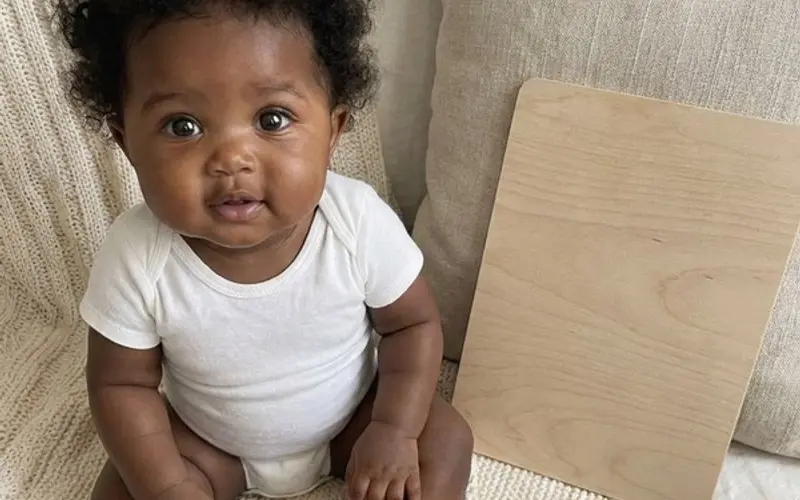
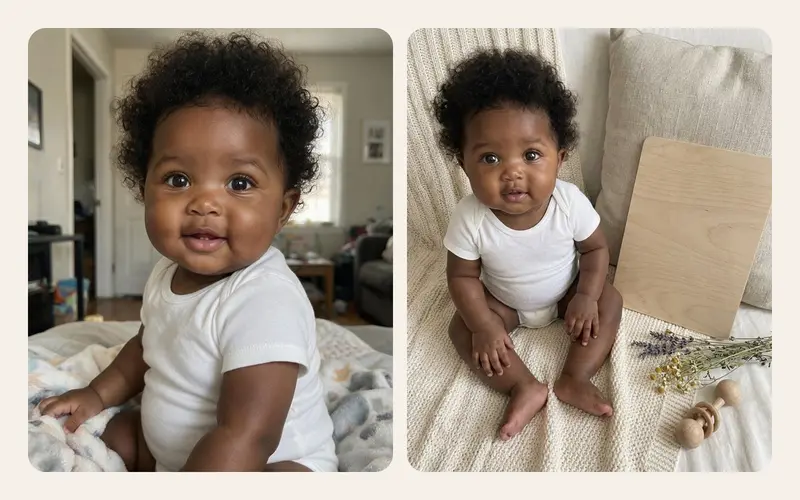

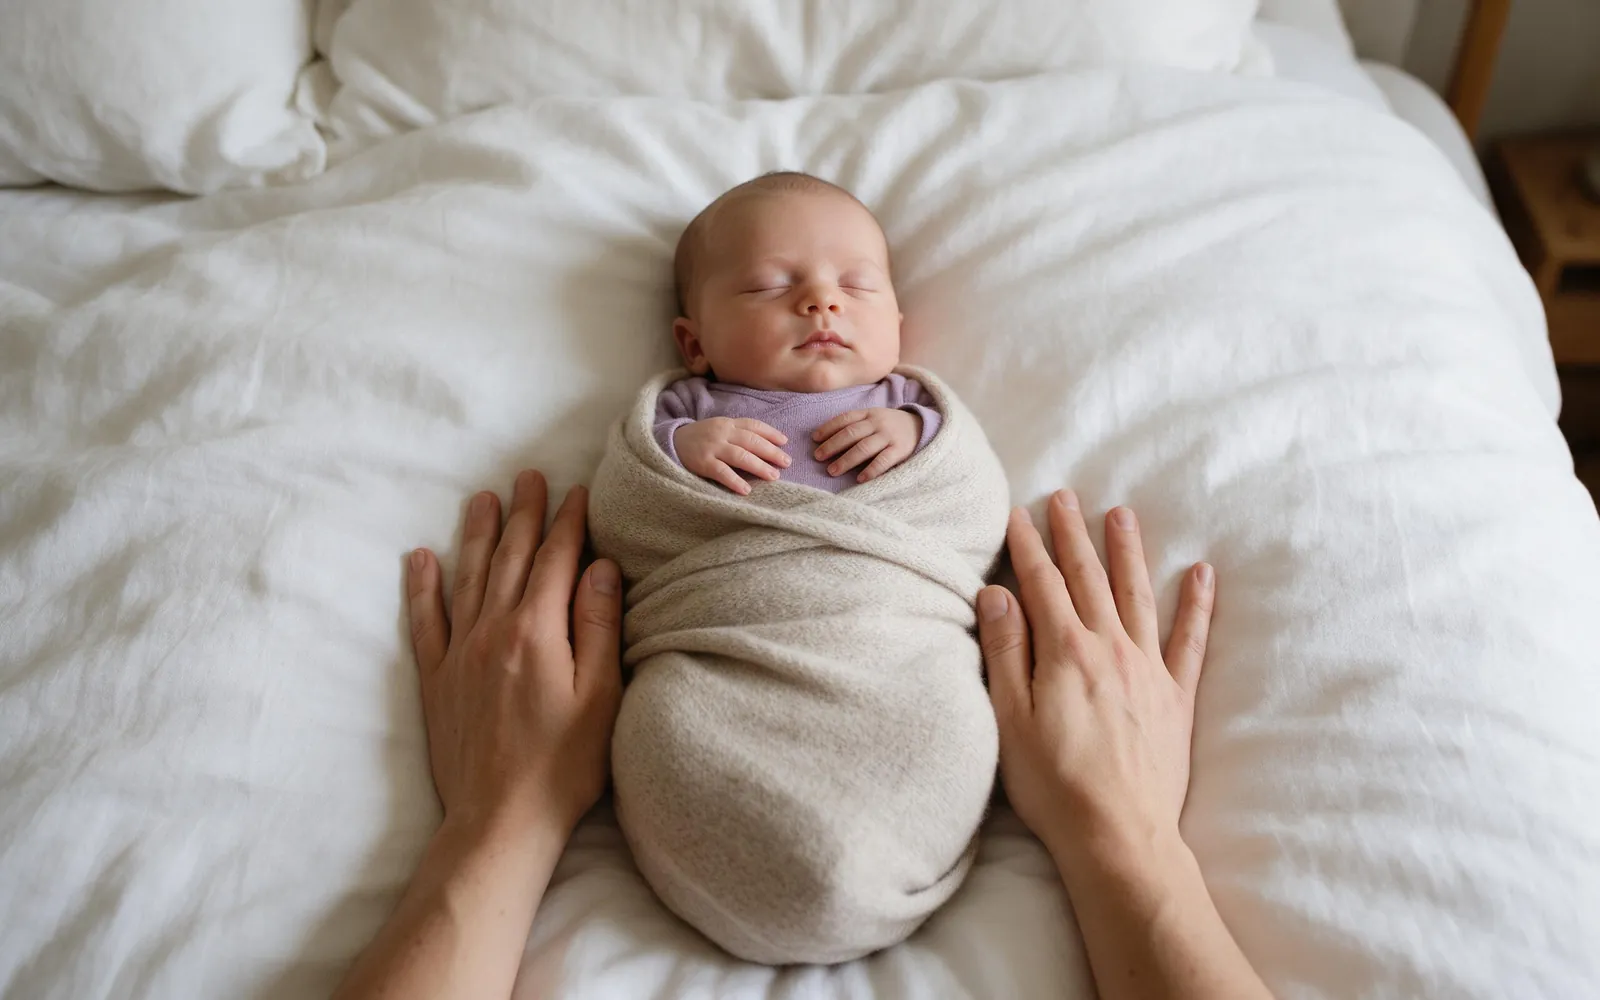
The first two weeks with a newborn are a blur of feeds, nappies and very little sleep. They are also the weeks when your baby curls up the way they did inside, sleeps through the doorbell and has that fine, slightly peeling newborn skin that is gone within a month. You do not need a studio to keep some of it. A phone, a window and twenty calm minutes are enough, as long as safety sets the rules and the pose comes second.
This guide covers nine poses that are safe to do at home, how to set up the room, the poses you see online that you should leave out, and a simple plan for a short session.
Safety first: the rules that come before any pose
Professional newborn photographers train for a long time, and many of the dramatic images you see on social media are composites: two or three photos merged together, with an assistant's hands holding the baby in every original frame. At home the aim is different. You are photographing your baby as they are, and that is more than enough.
Keep these rules for every photo in this article:
- Your baby is always supported. Lying flat on their back on a firm surface, or held securely in an adult's arms. Never propped upright alone, never balanced on anything.
- Stay low. Use the floor, not a bed, sofa, changing table or kitchen counter. A newborn can wriggle further in two seconds than you would expect.
- Keep the airway clear. Nothing near the nose and mouth: no loose blanket over the face, no hat pulled low, no ribbons, strings or necklaces around the neck.
- Warm, not hot. Babies lose heat quickly when unwrapped. Feel the back of the neck or the chest, not the hands, which are often cool anyway.
- Stop when your baby says so. Crying, stiffening, a change in colour or rooting for a feed means the session is over for now. You can try again tomorrow.
- One adult on baby, one on camera. If you are on your own, keep one hand near your baby and choose the simplest poses.
If anything about your baby's breathing, temperature, colour or feeding worries you during or after a session, stop and talk to your paediatrician or health visitor.
Set up the room: warmth, light and a safe surface
Warmth
A newborn in just a nappy gets cold far faster than you do. Warm the room for 20 to 30 minutes before you start, until you would be comfortable in a T-shirt. Keep a warm blanket within reach and keep unwrapped time short. If the room is on the cool side, stick to swaddled poses. Do not set up right next to a heater or radiator.
Light
Window light is the best light you own. Pick a window without direct sun. A north-facing window works for most of the day; other windows are often softest mid-morning, around 10am, or mid-afternoon. Place your baby about one to one and a half metres from the glass, side-on to it, so light falls across the face and shapes it with gentle shadows. Switch off ceiling lights, which add a yellow or green tint, and switch off the phone's flash.
If one side of the face looks too dark, hold a white pillowcase or a sheet of white card on the shadow side, just out of frame. That is a reflector, and you already have one in the airing cupboard.
Surface and backdrop
Fold a thick duvet or lay a firm play mat on the floor and stretch a plain blanket over it. Cream, white, soft grey and muted colours flatter newborn skin; bold patterns pull the eye away from the face. Smooth the wrinkles near the head so the background looks calm. Keep pets, siblings' toys and anything that could tip over well away from the mat.
9 safe newborn poses you can do at home
1. Swaddled on the back, from above
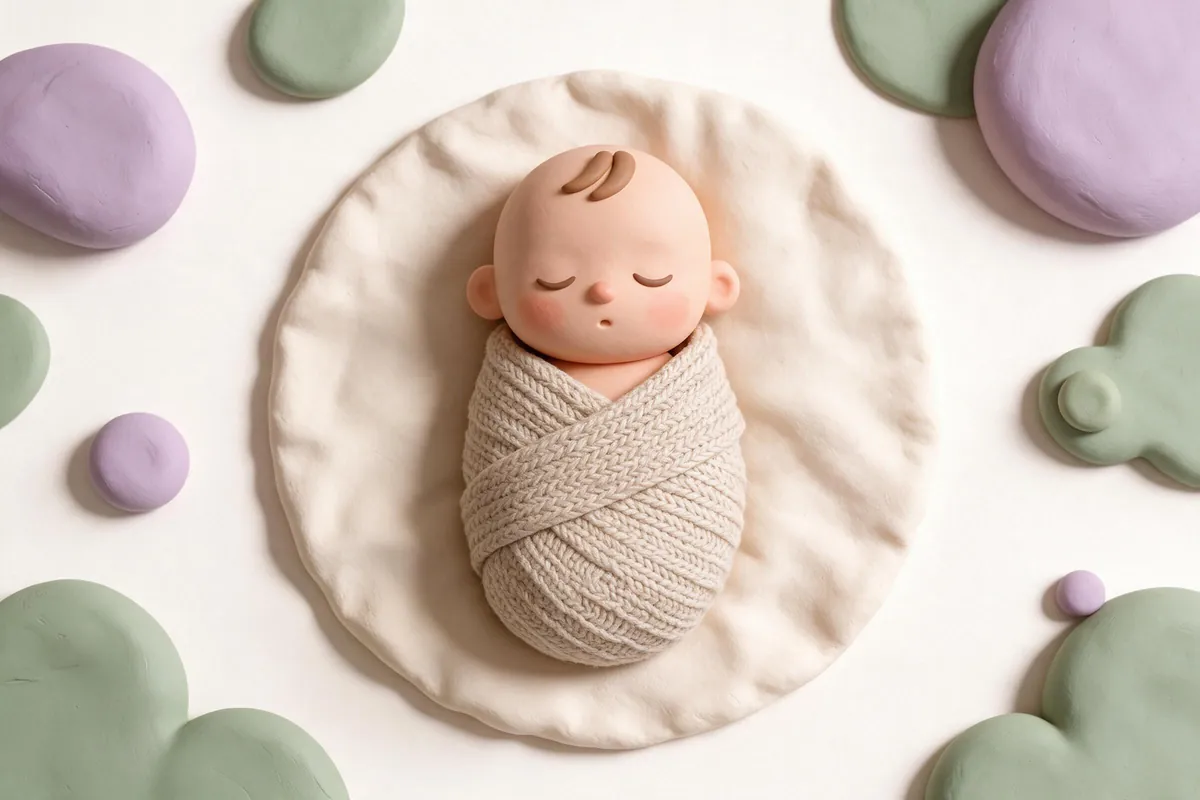
Wrap your baby snugly in a stretchy muslin or knit wrap, lay them on their back and stand over them. Hold the phone parallel to the floor so the face does not stretch. Fill the frame with the bundle and a little blanket around it. It is the easiest newborn photo to get right, and it is often the one parents print.
2. Hands near the face, on their own

Newborns often bring their hands up to their cheeks by themselves. Let it happen while they lie on their back and shoot from slightly above the chest. Do not try to place the hands under the chin; that is the start of a composite pose, not something to build at home.
3. Cradled in a seated parent's arms
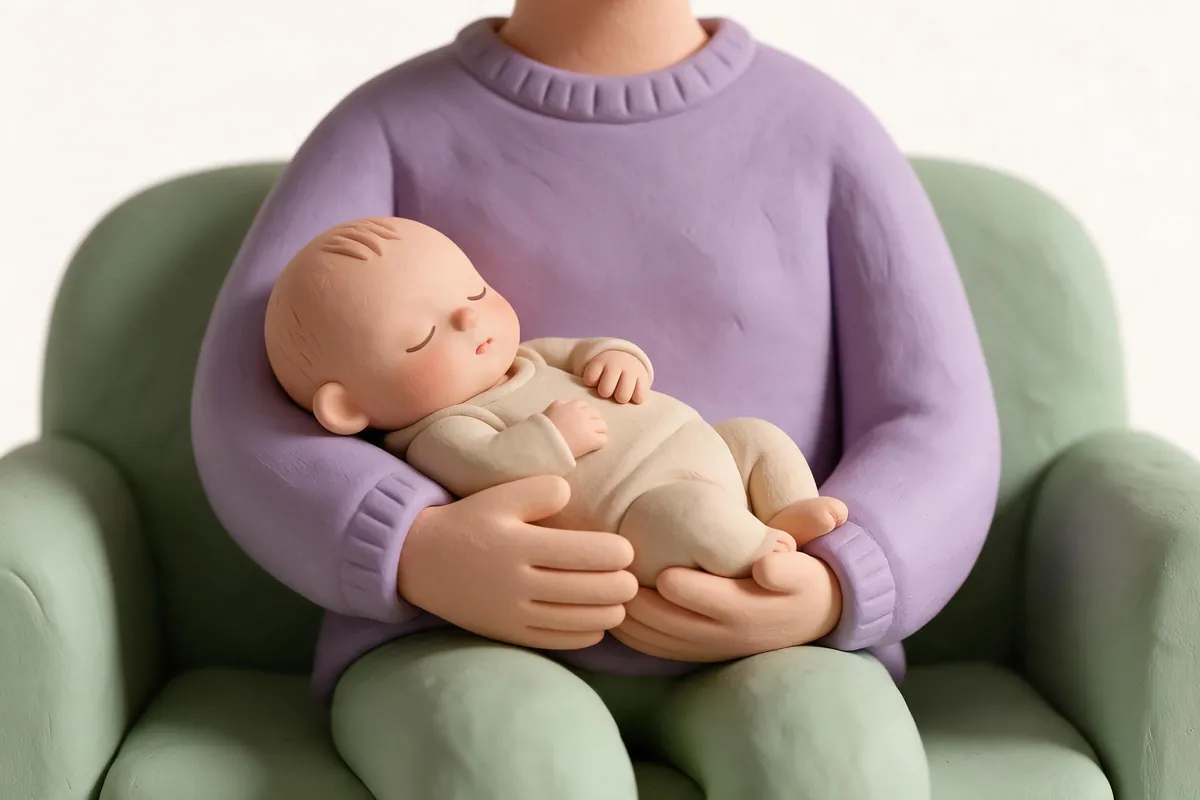
The parent sits on the floor or a low sofa with their back supported, baby resting in the crook of one arm. Shoot from a little above and to the side, so the arm and chest frame the baby. You get the scale of a tiny person against an adult, and nobody is balanced on anything.
4. Skin to skin on a reclined chest
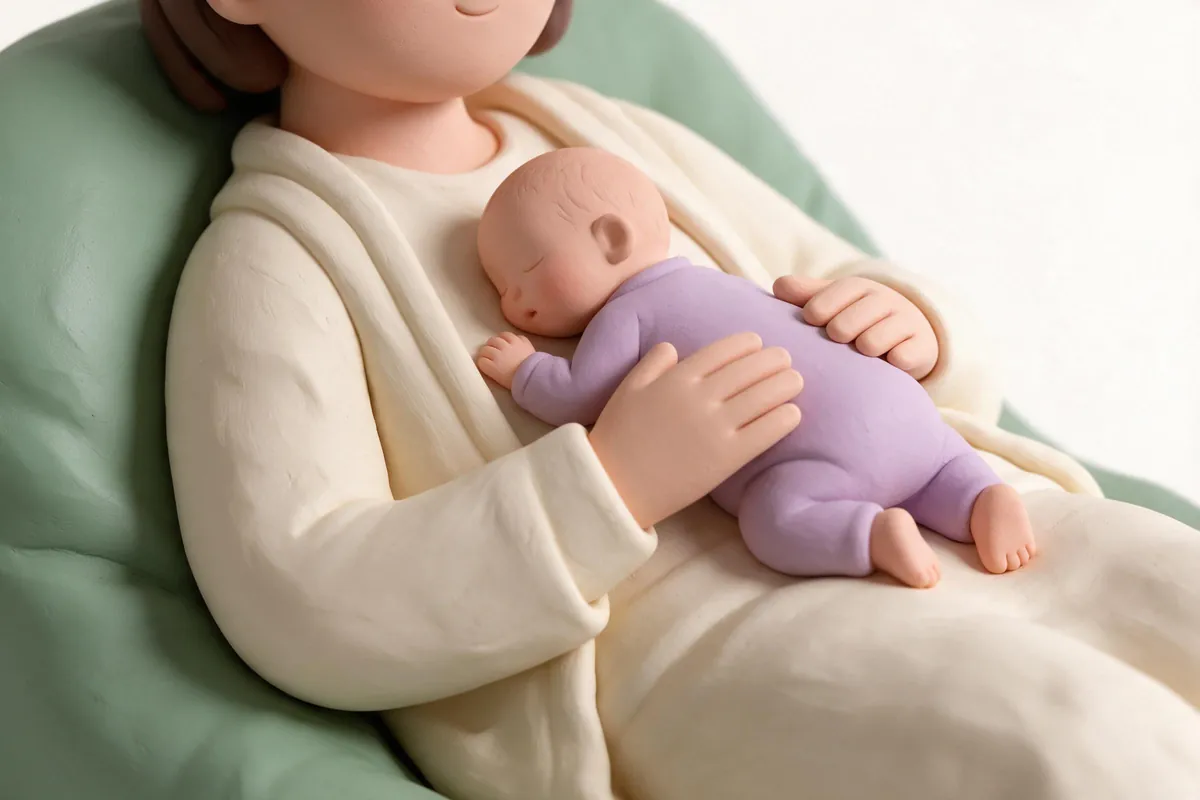
With the parent semi-reclined and fully awake, lay your baby tummy down on the bare chest, head turned to one side, both of the parent's hands resting on the back. Someone else takes the photo. This is supervised tummy time, not sleep, so the parent stays alert for the whole shot. There is more on awake tummy time in our tummy time guide.
5. Parent's hands around the head or feet
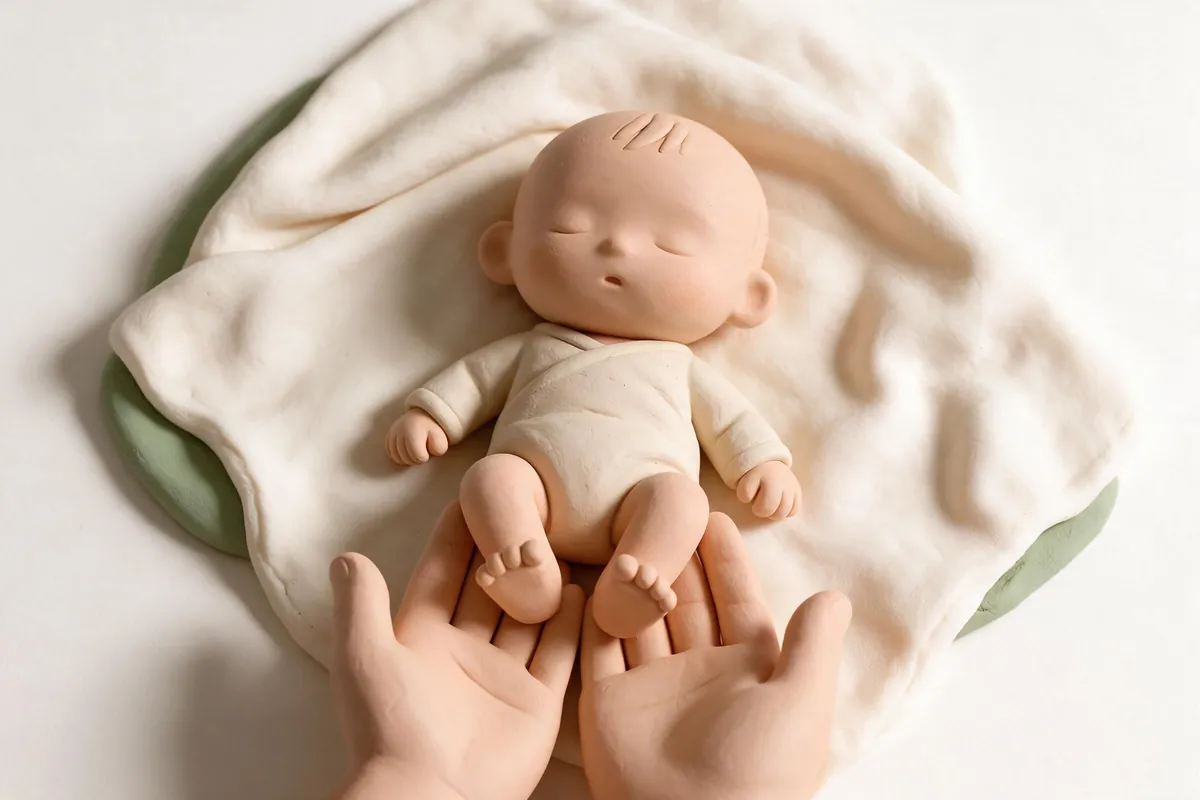
Your baby lies on the blanket. A parent rests two open hands softly around the top of the head, or cups both feet. The hands frame the baby; they do not lift or hold them up. A wedding ring in the frame turns it into a quiet family detail.
6. The detail series
Take five close-ups while your baby sleeps on your lap or on the mat: toes, a fist wrapped around your finger, eyelashes, the swirl of hair at the crown, the curve of an ear. Tap the screen to focus on the detail and move the phone a little closer instead of zooming far in. These photos hold what a wide shot cannot.
7. Yawns, stretches and awake eyes
Newborns stretch with their whole body after waking. Keep the camera ready in the first minute after a nap and use burst mode (on recent iPhones, slide the shutter button to the left). Unposed, awake moments often look more like your baby than any arranged pose does.
8. With an older sibling, seated and spotted
Sit the older child on the floor with their back against the sofa and a pillow on their lap, then lay the baby on the pillow in their arms. An adult kneels right beside them with one hand on the baby, just out of frame. Take a burst and keep it under a minute; small arms get tired and small attention spans run out.
9. A flat lay with a card beside
Lay your baby on their back and place a small card with the name or date on the blanket, a hand's width from the body and nowhere near the face. Put one soft item, like a knitted toy, on the other side. Photograph from above. It is simple, and it repeats well every month, which is the idea behind our monthly milestone photo ideas.
Poses to leave out, and why
Some of the most shared newborn images are exactly the ones not to copy at home.
| Pose | Why to skip it |
|---|---|
| "Froggy" (chin resting on hands) | A composite: an assistant holds the head and wrists, and the frames are merged afterwards |
| Baby in a hanging sling or bundle | Needs rigging and a spotter underneath; a fall risk with nothing gained at home |
| Upright in a basket, bucket or crate | Newborns cannot hold their heads up; the chin can drop to the chest and make breathing harder |
| On a bed, sofa or table edge | Babies shuffle and roll sooner than parents expect |
| Tight headbands, beads, strings | Pressure on soft skin, and a choking or strangling hazard |
The same goes for pillows and soft toys near the face of a sleeping baby. Photos of your baby asleep in the cot should follow safe sleep guidance: on the back, on a firm flat mattress, with nothing loose in the cot, not even for one photo. We cover this in bedtime routine and sleeping photos.
Phone settings that make a difference
- Clean the lens. A pocket-smudged lens turns soft window light into fog.
- Use the main camera, not ultra wide. Wide lenses stretch faces up close. Step back and crop, or use 2x if your iPhone offers it.
- Tap to focus on the eyes, then drag the exposure slider down slightly. A touch darker keeps white blankets from glowing.
- Leave out heavy filters. Newborn skin changes colour a lot in the first weeks, and filters exaggerate it.
- Shoot a few more than you think you need. Tiny movements blur, and the best frame is often the third or fourth.
Our guide on how to take baby photos with an iPhone goes further into Portrait mode, exposure and low light.
A calm 20 minute session plan
- Minute 0: Feed, burp and change your baby. A full, drowsy baby is a relaxed one.
- Minute 5: Swaddle and lay them on the mat. Take poses 1 and 2.
- Minute 10: Details (pose 6) while they are in deep sleep.
- Minute 13: Pick them up for pose 3, or pose 4 with a helper.
- Minute 17: Sibling photo or flat lay, if everyone still has patience.
- Minute 20: Stop, even if it is going well. Two short sessions on different days are kinder than one long one.
Most families come away with three or four photos they really love from a session like this. That is a very good result.
After the session: choose, keep and start a story
Pick your favourites the same evening, while you still remember which moments felt right, and delete the blurry doubles. Then make sure the keepers live somewhere other than a single phone.
A newborn session can also be the first frame of something longer. If you photograph your baby in the same spot, from the same distance, every day or every week, those wrapped early photos become the beginning of a growth story. The ghost overlay in TinyLapse shows your previous photo faintly on the camera so the next one lines up, and the app keeps every photo in date order with your baby's age on it. It is on the App Store if you want to try it.
Small moments pass quickly. Their story stays.