
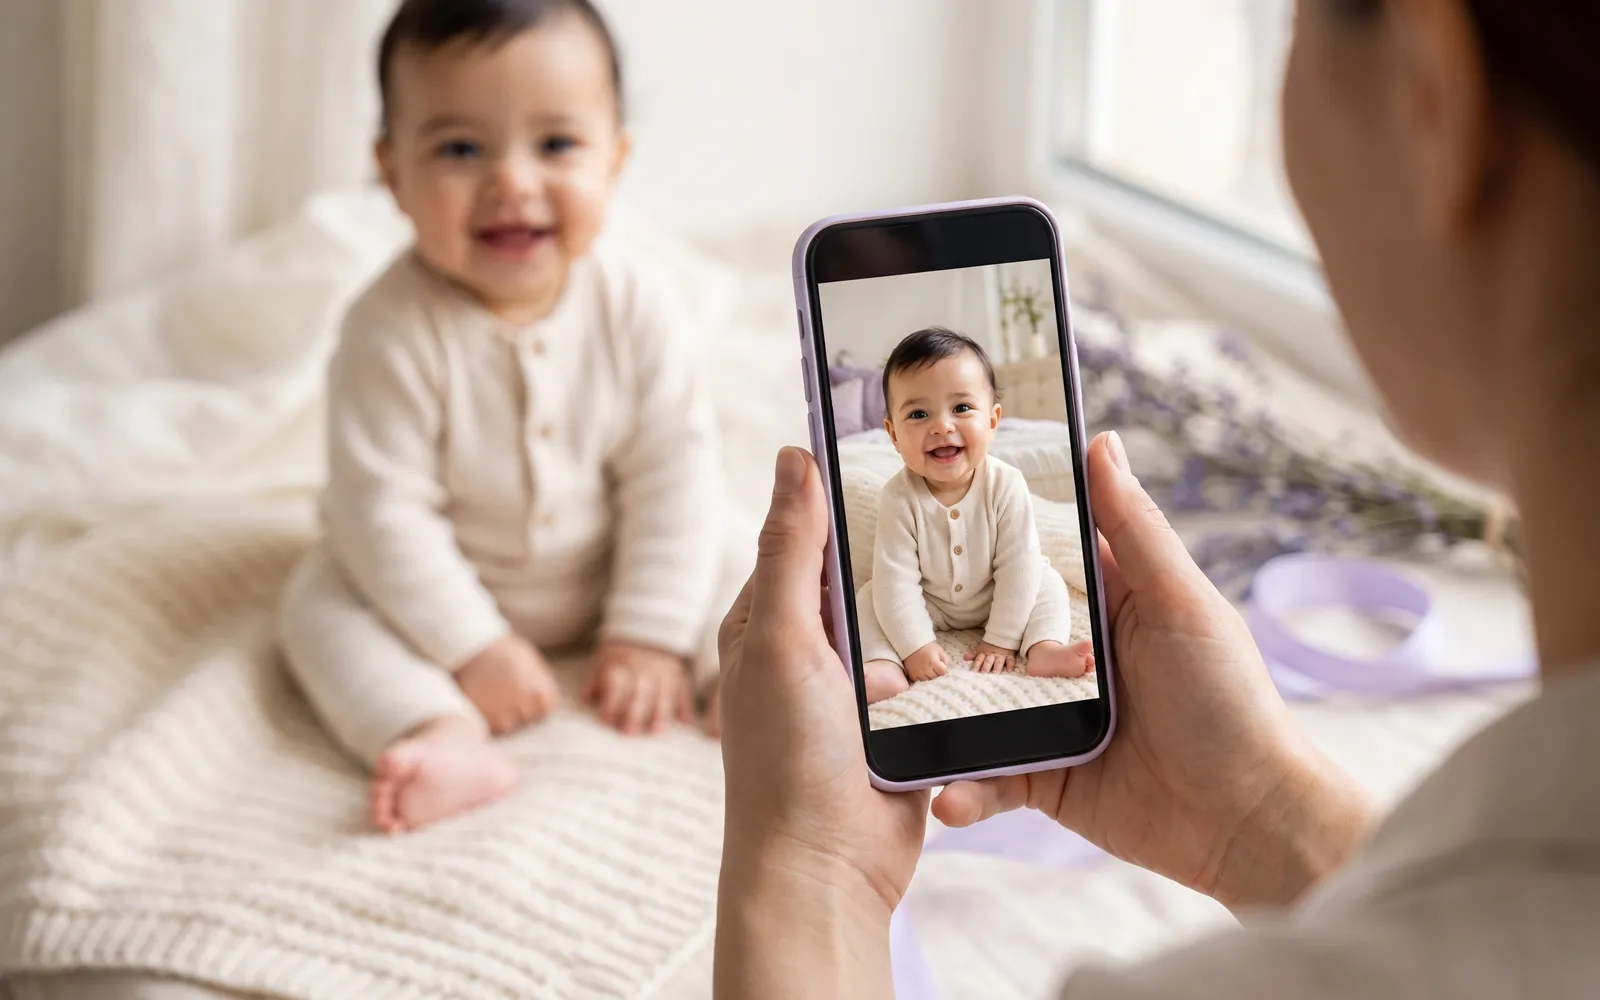
The best baby photos I have seen from friends were not taken with big cameras. They were taken on an ordinary iPhone, by a parent kneeling on the living room rug at ten in the morning with a muslin cloth over one shoulder. The phone is already good enough. What makes the difference is light, distance, a couple of settings and a routine that fits into days that already feel full.
This guide covers all of that, in the order it matters.
Start with the light, not the phone
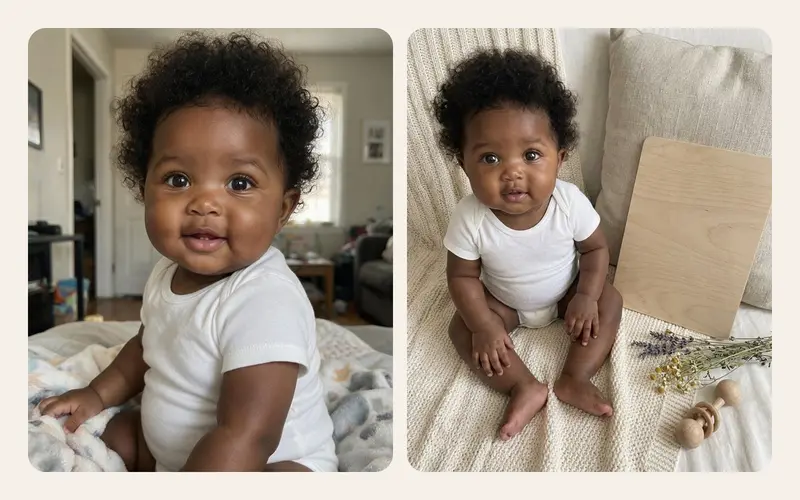
Light does more for a baby photo than any camera upgrade. Soft daylight from a window flatters skin, shows the small details (eyelashes, the crease on a wrist) and keeps colours natural.
A few rules that hold in almost every home:
- Use a window, not the ceiling lamp. Overhead bulbs throw shadows under the eyes and can turn skin yellow or green. Switch them off if the room has daylight.
- Put the window to one side. Place the baby so the window is beside them, about 1 to 2 metres away. Light from the side gives the face shape. Light from behind turns the baby into a dark silhouette.
- Avoid direct sun. A bright patch of midday sun on the blanket looks tempting but gives hard shadows and makes babies squint. A thin white curtain turns direct sun into soft light in seconds.
- Find your hour. Most rooms have one hour when the light is at its best. For an east facing room that is often mid morning; for a west facing one, late afternoon. Take a test shot of the same corner at three different times and keep the one that looks right.
- Leave the flash off. The built in flash flattens the face, causes red eye and can startle a baby who was calm a second ago. Tap the lightning icon and set it to Off.
If the room is dim, move closer to the window before you touch any setting. The iPhone copes with low light, but it does so by slowing the shutter or adding noise, and a wriggling baby punishes both.
Choose the right lens and distance
Most recent iPhones have more than one lens, shown as 0.5x, 1x and 2x or 3x on the camera screen. Each one changes how a small face looks.
| Lens | Good for | Watch out for |
|---|---|---|
| 0.5x (ultra wide) | The whole nursery, a baby in a big room | Stretches faces and hands when close |
| 1x (main) | Everyday shots, low light, the most detail | Getting very close makes the nose look larger |
| 2x or 3x | Portraits, faces, tiny feet | Needs more light; step back to frame |
A useful default: kneel about 50 cm to 1 metre away and use 2x if your phone has it. Faces look natural, you are not looming over the baby, and the background softens a little on its own. If the light is poor, go back to 1x and move a step closer rather than pinching to zoom, which only crops the picture.
One small safety habit: do not hold the phone directly above the baby's face. Phones slip. Shoot from a slight angle, or use a wrist strap, so that a drop lands on the blanket and not on a nose.
Camera settings worth changing once
You do not need a special camera app. A few settings in the built in Camera are enough, and you only set them once.
- Turn on the grid. Open Settings, then Camera, then Grid. The lines help you keep the horizon straight and place the eyes on the upper third of the frame.
- Lock focus and exposure. Tap and hold on the baby's face until you see AE/AF Lock. The phone stops refocusing on the blanket every time a hand waves.
- Nudge the brightness. After tapping on the face, drag the small sun icon up or down. A baby on a white sheet often looks better a touch darker than the phone chooses.
- Keep Live Photos on. A Live Photo records a moment before and after the tap. When the eyes were half closed at the exact second you pressed, open Edit, choose a different frame as the key photo, and you can often rescue the shot.
- Try Portrait mode from a little further away. It softens the background nicely. Fine baby hair can confuse the depth effect, so check the edges; on many recent models you can adjust the blur or turn it off later in Photos.
Filters and strong styles can wait. Natural colour ages better than whatever look is popular this year.
Getting sharp photos of a baby who never stops moving
Babies move in waves: a kick, a startle, a fist to the mouth, then a few seconds of stillness. Work with that rhythm instead of fighting it.
- Shoot short bursts. In recent versions of iOS, slide the shutter button to the left to take a burst. Pick the best frame afterwards and delete the rest right away, so your library stays manageable.
- Use the volume button. Pressing a volume button takes a photo, which keeps your grip steadier and your eyes on the baby instead of on the screen.
- Brace yourself. Rest your elbows on your knees or on the arm of the sofa. A steady phone matters most in soft indoor light.
- Catch the calm window. After a feed, a nappy change and a cuddle, many babies are content for a few minutes. That is photo time, not when they are hungry or tired.
- Talk, do not wave. A familiar voice from just above the phone draws their gaze toward the lens. A rattle held right next to the camera works too.
Three minutes is often enough. If the baby starts fussing, stop. There will be a calmer moment later, and a relaxed face makes a better photo than a perfect setup.
Angles and backgrounds that work at home
Plain backgrounds let the face do the talking. A cream or white blanket, a light grey sofa or an unmade bed in morning light all work well. Clear anything busy from behind the baby: the laundry basket, a phone charger, a patterned cushion, yesterday's mug.
Angles to try:
- Eye level. Get down on the floor. Photos taken from standing height make babies look small and far away.
- From the side, slightly above. When the baby lies on their back, shoot from beside them at a gentle angle rather than straight down over the face.
- Details. Fill the frame with a fist wrapped around your finger, toes against a knitted blanket, the curl of hair behind one ear. These age beautifully.
- With you in it. Hand the phone to someone else now and then. The parent who takes the photos is usually the one missing from the album.
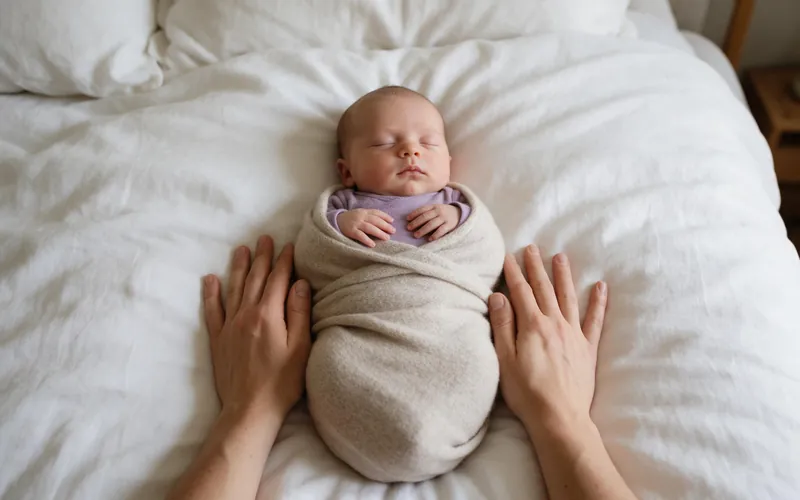
Keep poses simple and natural. With newborns especially, the baby should always be supported and never propped upright on their own. Our guide to safe newborn poses at home walks through positions that work with a phone and explains why the risky composite poses are best left alone.
Photographing a sleeping baby safely
A sleeping baby is the easiest subject in the world, which is exactly why it pays to be careful. Photograph your baby where and how they already sleep safely: on their back, on a firm flat surface, with nothing loose in the cot. Do not add pillows, blankets, toys or props for the picture, and do not move a sleeping baby into a cute but unsafe spot. If you want a cosier look, change the framing, not the sleep space: go closer, focus on a hand or a cheek.
In many regions, switching the phone to silent also mutes the shutter sound. Keep the flash off and use whatever light is already in the room. If the result is a little grainy, let it be. It will still be one of the photos you look at most in ten years. There are more ideas in our piece on bedtime routines and sleeping photos, and if you have questions about safe sleep itself, talk to your paediatrician.
Build a routine you can actually keep
The photos that feel precious later are rarely the staged ones. They are the series: the same baby, in roughly the same place, week after week, getting bigger. A simple routine makes that possible without adding pressure.
- Pick one spot and one time of day with good light.
- Kneel at the same distance and use the same lens every time.
- Take a handful of frames, keep one or two, and delete the rest the same day.
- If a day or a week slips, just carry on. The story still holds together.
Lining up the same angle by eye is harder than it sounds. TinyLapse, an iPhone app for daily baby photos, shows your previous photo faintly on the camera so each new one lines up with the last (we call it the ghost overlay), keeps the photos in date order and shows the baby's age on each one. You can find it on the App Store. The method itself is covered in depth in taking a baby photo every day from the same angle, and once you have a few weeks of photos, our monthly baby photo ideas make a good next step.
Edit lightly and keep the photos safe
Edit in the Photos app, and keep it gentle:
- Straighten and crop so the face sits comfortably in the frame.
- Lower Highlights if the white blanket glows.
- Warm the picture slightly if the daylight came out blue.
- Leave skin smoothing alone. Baby skin has blotches, milk spots and dry patches, and that honest texture is part of what you will want to remember.
Then think about keeping them. A phone can be lost, dropped in the bath or simply fill up. Turn on iCloud Photos or another backup, make a shared album for grandparents instead of sending forty messages a week, and every few months mark the best shots as favourites so they are easy to find. Our guide to organising and backing up baby photos has a routine that takes about ten minutes a month.
Small moments pass quickly, their story stays. A window, a phone and three calm minutes are enough to keep it.