
There is a particular moment at many first birthday parties. Someone dims the lights, a video starts on the TV, and a room full of relatives watches a curled up newborn slowly turn into the one year old in the high chair with cake on their face. It lasts less than a minute, and it is often the thing people remember from the day.
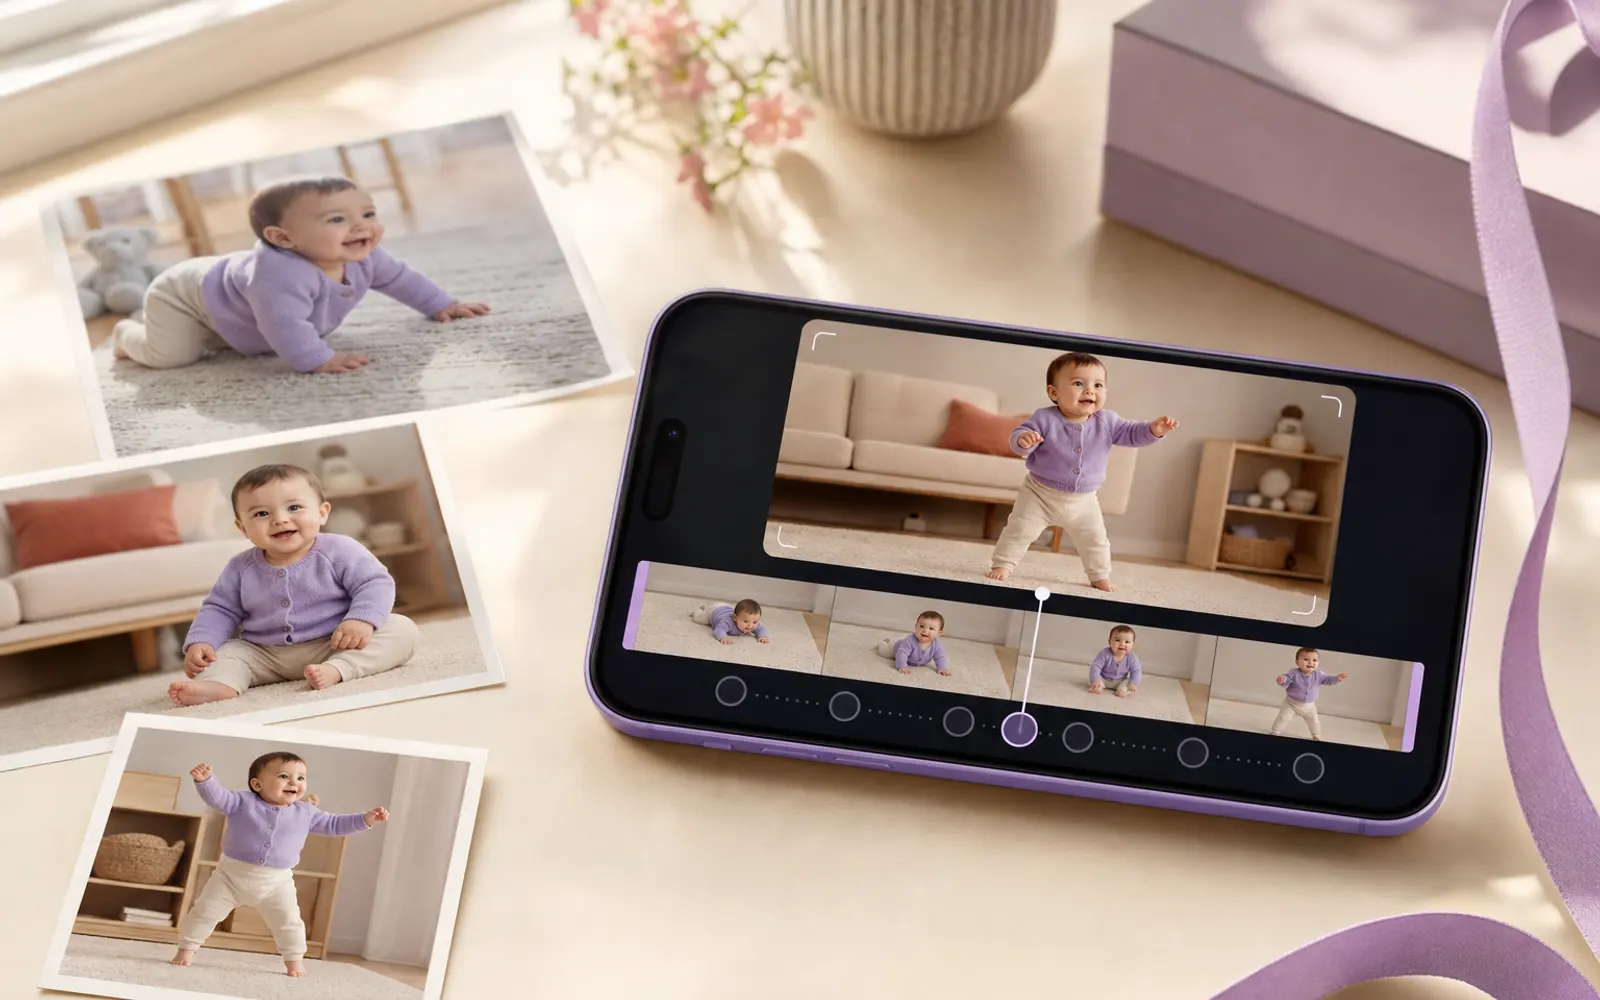
That video is a time-lapse: many photos of the same child, from a similar angle, shown quickly one after another. This guide walks through how to make a good one, whether you have been taking planned photos since day one or you are starting from a camera roll full of random shots.
What makes a time-lapse worth rewatching
A time-lapse is not a slideshow. A slideshow shows the best photos of the year with transitions between them. A time-lapse shows change, and change is only visible when everything else stays still.
Three things decide whether it feels smooth or jumpy:
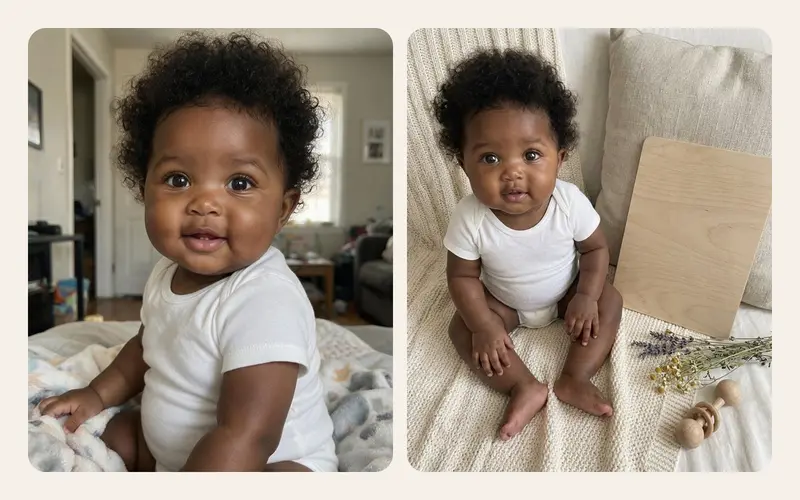
- The same framing. Eyes in roughly the same place in every frame, head roughly the same size.
- Similar light. Daylight next to lamplight looks like a flickering bulb.
- Enough frames. Too few and the face jumps from one version to the next; enough and it seems to grow.
Nothing on that list requires a professional camera. It only requires the photos to be taken in a similar way, which is the whole idea behind a baby photo every day from the same angle.
How many photos you need
Here is a rough guide to what different rhythms produce. The durations are simple arithmetic, not rules; you will pick the speed that feels right.
| Photos taken | Frames in a year | At 4 per second | At 10 per second |
|---|---|---|---|
| Every day | about 365 | about 91 seconds | about 36 seconds |
| Every 2 or 3 days | 120 to 180 | 30 to 45 seconds | 12 to 18 seconds |
| Once a week | 52 | about 13 seconds | about 5 seconds |
| Once a month | 12 | about 3 seconds | about 1 second |
A practical takeaway: weekly photos make a lovely short clip, and daily photos give you room to choose. Monthly photos are better suited to a slideshow or a printed grid, as in our first birthday slideshow ideas.
Shooting for the video from day one
If you are early in the year, a few habits make the final video far easier:
- Choose one spot and one hour. A plain wall or the same corner of the sofa, in soft daylight. Mark your standing spot with tape.
- Keep the phone at the same height. Directly above a baby lying down, at eye level once they sit.
- Leave room around the face. You will crop later, and a baby grows into the frame.
- Use an overlay. A faint copy of the previous photo on the live camera is the most reliable way to line up the eyes. The time-lapse and ghost overlay features in TinyLapse are built around exactly this.
- Stay in one orientation. Portrait or landscape, chosen on day one.
Rescuing a year of mismatched photos
Maybe you did not plan anything and now the birthday is in three weeks. You can still make something good.
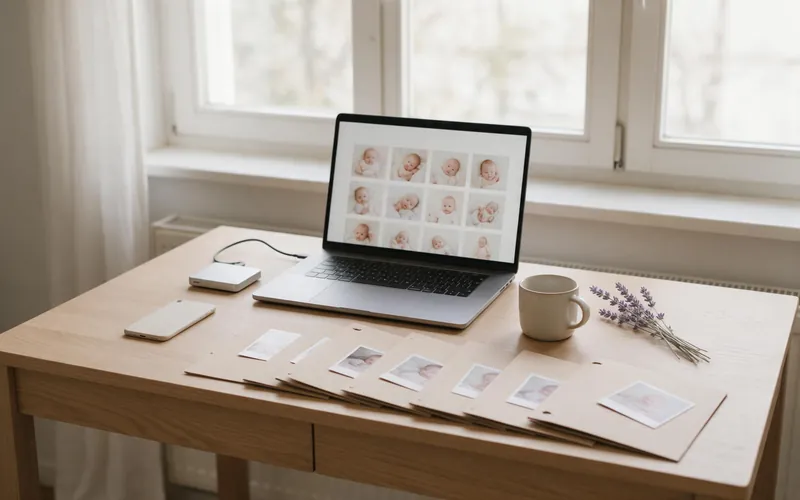
- Make an album. Scroll back through the year and add candidates to one album. Aim for one or two photos a week.
- Filter hard. Keep photos where the face looks toward the camera, fills a similar part of the frame, and is not covered by hands or a dummy.
- Crop to a shared framing. Use the same aspect ratio for all of them and place the eyes on the same line. The iPhone Photos editor lets you crop to a fixed ratio.
- Check the light. Drop the few that are very yellow, very dark or taken with flash. Consistency beats quantity.
- Sort by date. Photos taken on a phone carry their date, so date order is usually automatic. Double-check any that came from messaging apps, which sometimes carry the day they were saved instead.
The result will be less smooth than a planned series, and that is fine. It will still show a year.
If the filtering feels endless, use a simple rule: at least four photos for every month. When a week has nothing usable, leave it out; a small gap is far less noticeable than a forced frame where the face is turned away. Give the first three months extra care, because that is when babies change fastest and those frames carry the opening of the video. Your partner's phone, the grandparents' messages and the family chat often hold good photos you never saved yourself, so ask for those months in particular. Once the video is done, keep the album too. It is the starting point for next year's version.
Editing choices: speed, direction, ratio and labels
Once your photos are in order, a handful of choices shape the video.
Speed
Faster is not always better. For daily photos, 8 to 12 frames per second tends to feel smooth. For weekly photos, slow down to 3 to 5 so each face registers. Watch both a slower and a faster version before you decide.
Direction
Forward (newborn to one year old) is the classic. Reverse is surprisingly moving: start with the toddler of today and watch them shrink back into a newborn. Some parents play reverse at a birthday and forward at the end of the evening.
Ratio
Match the ratio to where the video will be watched.
| Where it will be watched | Ratio | Tip |
|---|---|---|
| TV at a party, laptop | 16:9 landscape | Leave extra room at the sides when shooting |
| Messaging apps, phone screen | 9:16 or 4:5 portrait | Crops closest to the baby's face |
| Social media feed | 1:1 or 4:5 | Square is the safest middle ground |
Date and text
A small date or age in the corner helps viewers follow along ("3 months", "first steps"). Keep it small and in one corner, so it does not cover the face.
A time-lapse app can handle all of these at once. In TinyLapse you choose the speed, direction and ratio, add a watermark with your own text and the date, and export as MP4 or GIF at up to 1080p. Free exports are 360p with a small app mark in the corner; Premium, which is optional, removes the mark and makes every quality available.
Music, sharing and keeping it safe
If you want music, add a track in a general video editor, such as iMovie, after exporting. Pick something gentle and let the video end where the music ends. A song with lyrics about growing up can feel heavy on the tenth viewing; an instrumental often ages better.
Before you post, think about where the video goes. A year of daily faces is a detailed record of a child. A private family album or a messaging group is a very different audience from a public profile. Our guide on sharing kids photos online safely goes through the options.
Keep the original photos too, not only the video. A video is a single compressed file; the photos are the record you can remake it from in five years, perhaps as a longer three year version.
Common mistakes that make a time-lapse flicker
- Mixing flash and daylight photos. The face turns white, then warm, then white again.
- Changing zoom. A 2x photo among 1x photos makes the head suddenly swell.
- Busy, changing backgrounds. A moving laundry basket steals the attention from the baby.
- Too fast for too few frames. 52 weekly photos at 12 per second is over in four seconds.
- Big date stamps over the face. Keep labels in a corner.
- No pause at the end. Hold the last frame for a second or two so the room has time to react.
A time-lapse is one of the simplest keepsakes to make and one of the most watched. If you want the overlay, the reminders and the editor in one place, you can find TinyLapse on the App Store. Otherwise, a camera, one spot and a little patience will do.
Small moments pass quickly. Their story stays.